Welcome to the Char-Broil Grill Manual, your comprehensive guide to safe and effective grilling․ This manual provides detailed instructions for assembly, operation, and maintenance to ensure optimal performance and longevity of your grill․
Whether you’re a seasoned griller or a newcomer, this manual offers essential tips and troubleshooting advice to enhance your outdoor cooking experience with Char-Broil products․
1․1 Purpose of the Manual
The purpose of this manual is to guide you in the safe and effective use of your Char-Broil grill․ It provides essential information for assembly, operation, and maintenance to ensure optimal performance and longevity․ Designed for both new and experienced users, this manual offers clear instructions, troubleshooting tips, and safety precautions to enhance your grilling experience․
1․2 Key Features of Char-Broil Grills
Char-Broil grills are known for their high-performance features, including advanced cooking technologies like TRU-Infrared and SmartChef․ They offer a range of models, from gas and charcoal to hybrid grills, ensuring versatility for any cooking preference․ Durable construction, user-friendly controls, and innovative accessories like grill covers and cleaning tools enhance your grilling experience, making Char-Broil a trusted choice for outdoor cooking enthusiasts․
Safety Precautions
Always follow safety guidelines for safe operation․ Use outdoors only; never move the grill while in use or still hot․ Follow instructions to avoid hazards․
2․1 General Safety Guidelines
- Always prioritize safety when operating your Char-Broil grill to prevent accidents and ensure a enjoyable grilling experience․
- Never use the grill indoors or in enclosed spaces, as this can lead to carbon monoxide buildup․
- Keep children and pets away from the grill while it is in operation or cooling down․
- Ensure the grill is placed on a stable, heat-resistant surface, away from flammable materials․
- Regularly inspect hoses, connections, and burners for damage or leaks before use․
- Never leave the grill unattended while it is lit or still hot․
- Use only genuine Char-Broil parts and accessories to maintain safety and performance․
2․2 Outdoor Use Only
Your Char-Broil grill is designed exclusively for outdoor use․ Using it indoors or in enclosed spaces is strictly prohibited due to the risk of carbon monoxide buildup, which can be dangerous․ Always place the grill on a stable, heat-resistant surface away from flammable materials like curtains, leaves, or wood․ Ensure proper ventilation and keep the grill at least 10 feet away from any structure to prevent fire hazards․
2․3 Handling Gas Cylinders
Always handle gas cylinders with care to ensure safety․ Disconnect the cylinder when the grill is not in use and store it upright in a well-ventilated area, away from heat sources․ Never move the grill while it is in operation or still hot․ Regularly inspect the cylinder and connections for leaks using soapy water․ If a leak is detected, turn off the gas supply immediately and refer to the troubleshooting section for further guidance․
Assembly Instructions
Unpack and inventory all components carefully․ Ensure all hardware and tools are included․ Follow the step-by-step assembly guide to build your Char-Broil grill correctly․
3․1 Unpacking and Inventory
Start by carefully unpacking all components from the box․ Check for any visible damage during unpacking․ Ensure all hardware, tools, and parts listed in the manual are included․
Verify the inventory against the packing list provided․ If any items are missing or damaged, contact Char-Broil customer support immediately for assistance․
3․2 Hardware and Tools Required
To assemble your Char-Broil grill, you’ll need an adjustable wrench, screwdrivers (Phillips and flathead), pliers, and an Allen wrench․ Ensure all bolts, washers, and nuts are included in the hardware package provided․
Organize the tools and hardware before starting to streamline the assembly process and avoid delays․
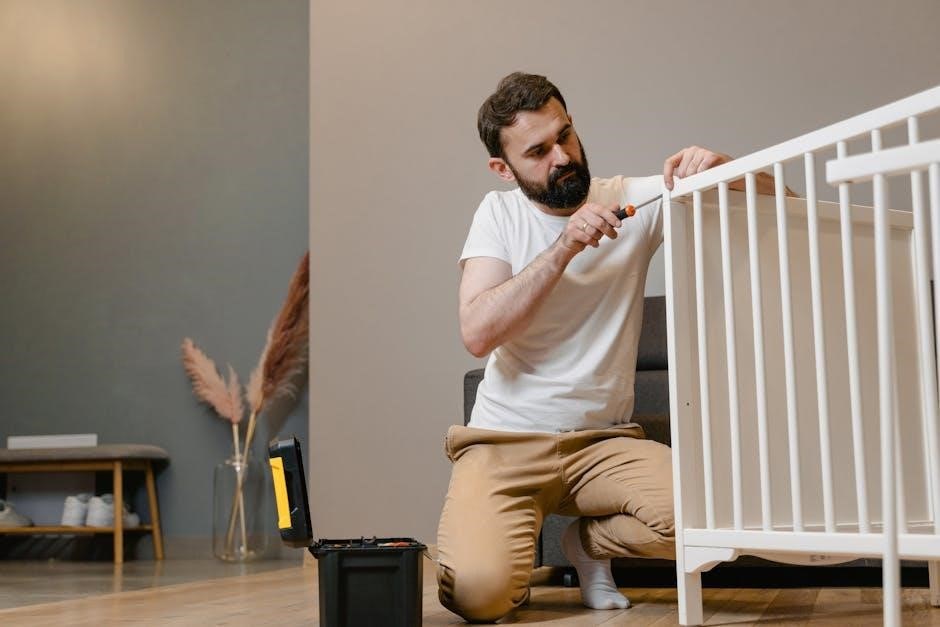
3․3 Step-by-Step Assembly Process
Begin by unpacking all components and verifying the inventory list․ Attach the legs to the grill base securely using the provided bolts․ Next, assemble the burner and heat deflector, ensuring proper alignment․ Connect the gas line to the regulator and tighten firmly․ Finally, mount the cooking grates and test all connections before use․ Always follow the included diagrams for precise guidance․
Refer to the manual for detailed illustrations and safety guidelines to ensure a successful assembly process․
Operating the Grill
Operating your Char-Broil grill safely and effectively requires proper ignition, burner control, and temperature monitoring․ Always follow the manual’s guidelines for optimal grilling experiences․
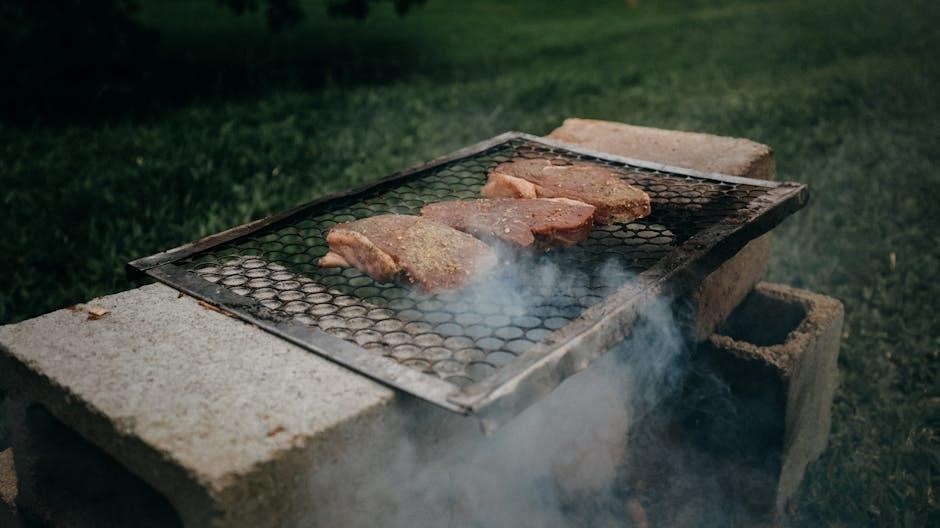
4․1 Lighting the Grill
Lighting your Char-Broil grill safely and efficiently is essential․ Ensure the grill is on a level surface and all burners are in the “OFF” position․ Open the lid to prevent gas buildup and turn the burner control valves to “HIGH․” Press the ignition button to light the burners․ If using a match, light the burners one by one․ Always follow the manual’s specific lighting instructions for your model․
Once lit, allow the burners to heat up for 5-10 minutes before adjusting the controls․ Ensure the flame is steady and blue․ Never leave the grill unattended during the lighting process․
4․2 Adjusting Burner Controls
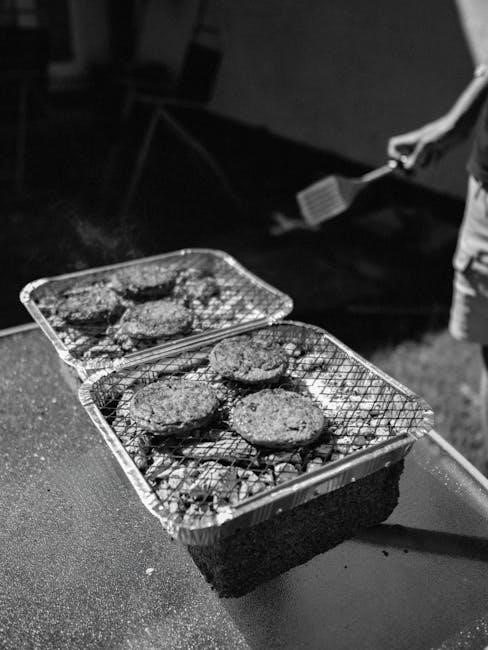
Adjusting the burner controls on your Char-Broil grill allows for precise temperature management․ Turn the burner knobs clockwise or counterclockwise to increase or decrease the flame height․ Always preheat the grill on “HIGH” for 5-10 minutes before cooking․ Use the control knobs to achieve the desired heat setting, whether searing, roasting, or simmering․ Proper adjustment ensures even cooking and prevents flare-ups․
For dual-zone grills, split the burners to create different heat zones for versatile cooking․ Always monitor the temperature gauge to maintain consistent heat levels during grilling․
4․3 Monitoring Temperature
Monitoring the temperature is crucial for achieving perfect grilling results․ Use the built-in temperature gauge to track heat levels accurately․ Preheat the grill to the desired temperature, then adjust the burners as needed․ For consistent cooking, ensure the temperature remains stable throughout the grilling process․ Always allow the grill to preheat fully before adding food for optimal performance and flavor․
Regularly checking the temperature helps prevent overheating or undercooking․ Use a meat thermometer for precise internal food temperatures, ensuring safety and quality․ Proper temperature control enhances your grilling experience and extends the life of your Char-Broil grill․
Maintenance and Cleaning
Regular maintenance ensures your Char-Broil grill performs optimally; Clean the burner assembly with a Cool-Clean Brush and mild detergent for painted surfaces․ Always follow manual guidelines․
Store the grill properly, protect it from rust, and use compatible covers․ Cleaning and maintenance extend the grill’s lifespan and ensure safe, efficient operation for years to come․
5․1 Cleaning the Burner Assembly
Regularly cleaning the burner assembly is crucial for optimal grill performance․ Use a Char-Broil Cool-Clean Brush to remove food residue and debris․ For tougher stains, apply mild detergent or Char-Broil Grill Cleaner with warm soapy water․ Avoid harsh chemicals that may damage the finish․ Always clean when the grill is cool to prevent burns․ Proper maintenance ensures consistent flame distribution and prevents rust formation, extending the lifespan of your Char-Broil grill․
- Use a Cool-Clean Brush for effective cleaning․
- Apply mild detergent or specialized cleaner for tough stains․
- Avoid harsh chemicals to protect the finish․
- Clean when cool to prevent burns․
Regular cleaning ensures consistent flame distribution and prevents rust, extending the grill’s lifespan․
5․2 Caring for Painted Surfaces
To maintain the appearance and durability of your Char-Broil grill’s painted surfaces, wash them with mild detergent and warm, soapy water․ Avoid using abrasive cleaners or scouring pads, as they may damage the finish․ For tougher stains, use a Char-Broil Grill Cleaner․ Never expose painted surfaces to high-pressure washes or harsh chemicals․ Regular cleaning prevents rust and ensures the paint remains vibrant and protective for years․
- Use mild detergent and warm water for cleaning․
- Avoid abrasive cleaners and scouring pads․
- Apply Char-Broil Grill Cleaner for stubborn stains․
- Protect from high-pressure washes and chemicals;
Proper care extends the life and appearance of painted surfaces․
5․3 Regular Maintenance Tips
Regular maintenance ensures your Char-Broil grill performs optimally and lasts longer․ Clean the burner assembly after each use to prevent food residue buildup․ Check gas hoses for cracks or damage and replace if necessary․ Lubricate moving parts annually to maintain smooth operation․ Inspect the grill grates and clean them with a wire brush before and after use․ Store the grill properly during off-seasons to protect it from rust and harsh weather conditions․
- Clean burners regularly to avoid clogs․
- Inspect gas hoses for damage or wear․
- Lubricate moving parts for smooth operation․
- Store the grill securely during winter months․
Proper upkeep ensures years of reliable grilling performance․
Troubleshooting Common Issues
This section addresses common problems like gas leaks, ignition issues, and uneven heating․ Refer here for solutions to ensure safe and efficient grilling operations․
6․1 Gas Leak Detection
To detect gas leaks, turn off the gas supply and inspect connections with soapy water․ Bubbles forming indicate a leak․ Never use open flames for detection․ If a leak is found, discontinue use until repairs are made․ Always follow safety guidelines to ensure secure grilling operations and prevent potential hazards․
6․2 Ignition Problems
If your Char-Broil grill fails to ignite, first ensure the gas supply is turned on and the tank is not empty․ Check the igniter for cleanliness and proper function․ If issues persist, inspect the burner ports for blockages and clean them with a small brush․ Avoid using matches or lighters, as this can damage the grill․ Refer to the troubleshooting section for detailed guidance on resolving ignition-related concerns safely and effectively․
6․4 Uneven Heating
If your Char-Broil grill exhibits uneven heating, ensure the burner assembly is clean and free from blockages․ Use a wire brush to clear debris from the ports․ Check that the heat deflectors are properly positioned and undamaged․ Preheating the grill for 10-15 minutes before cooking can also help stabilize temperature distribution․ For persistent issues, refer to the troubleshooting section for additional diagnostic steps and solutions․
Accessories and Upgrades
Explore Char-Broil’s range of accessories, including grill covers, cooking utensils, and replacement parts, to enhance your grilling experience and maintain your grill’s performance and appearance․
7․1 Recommended Char-Broil Accessories
Char-Broil offers a variety of accessories to enhance your grilling experience․ These include grill covers, cleaning brushes, and cooking utensils designed specifically for your grill․ The Char-Broil Cool-Clean Brush is ideal for maintaining your grill’s surfaces, while Grill Covers protect your investment from rust and weather damage․ Additionally, optional Cooking Zones and Flavor Enhancers can expand your grilling capabilities, ensuring optimal performance and flavor․
7;2 Compatible Grill Covers
Char-Broil offers a range of durable grill covers designed to protect your grill from rust and weather damage․ These covers are tailored to fit specific models, ensuring a snug and secure fit․ Regular use of a compatible grill cover helps maintain your grill’s condition and longevity․ For optimal protection, choose a cover that matches your grill’s dimensions and features, available on the Char-Broil official website․
7․3 Upgrading Grill Parts
Char-Broil offers a variety of genuine parts and accessories to enhance your grilling experience․ From replacement burners to updated ignition systems, upgrading your grill parts can improve performance and durability․ Visit the official Char-Broil website to explore compatible upgrades tailored to your grill model․ Always ensure parts are genuine to maintain warranty and safety standards․ Upgrading is a great way to keep your grill operating at its best for years to come․

Storage and Winterization
Proper storage and winterization are crucial to maintain your Char-Broil grill’s condition․ Clean the grill thoroughly, protect it from rust, and store in a dry place․ Use a grill cover to shield from elements․ Disconnect gas cylinders and ensure all parts are secure․ Follow these steps to preserve your grill’s performance and longevity during off-season periods․
8․1 Preparing for Storage
Before storing your Char-Broil grill, clean it thoroughly using a Char-Broil Cool-Clean Brush to remove food residue․ Disconnect the gas cylinder and ensure all burners are turned off․ Inspect for damage and repair if necessary․ Cover the grill with a compatible Char-Broil cover to protect it from dust and moisture․ Store in a dry, secure location to maintain its condition and ensure readiness for future use․
8․2 Protecting from Rust
To prevent rust, clean the grill thoroughly before storage, paying attention to metal surfaces․ Use a mild detergent and water or a Char-Broil Grill Cleaner․ Dry all components completely, especially after cleaning․ Apply a rust-inhibiting coating to metal parts if needed․ Store the grill in a dry, sheltered area and use a grill cover to protect it from moisture and debris․ Regular maintenance will help extend the grill’s lifespan․
8․3 Winter Storage Tips
For winter storage, ensure the grill is completely clean and dry to prevent rust․ Disconnect and store the gas cylinder separately in a well-ventilated area․ Cover the grill with a durable, weather-resistant Char-Broil grill cover to protect it from moisture and debris․ Store the grill in a dry, sheltered location, such as a garage or shed, to maintain its condition and ensure it remains ready for use when the grilling season resumes․